
Here is a quick, little project for a snowy afternoon, especially if you have a baby doll head with no body.
Our local doll club tackled the dilemma of the bodiless baby head and created a one piece baby or snow suit…stuffed with pellets and polyester to make the body. The body was then attached to the hapless baby head and topped with an attached or separate hood. Below are instructions and illustrations along with a printable pattern.
Materials needed:
- ¼ yard ( for pattern size shown here) of fleece, flannel* or thick sweatshirt material (use the soft inside)
* if the flannel is thin you may consider lining with muslin or other light interfacing
- Cardboard for a template
- ½ yard of elastic thread
- Strip of Velcro (optional for hood)
Step 1: Print out the pattern by “select” and “print” from this site.
Once copied, resize the pattern either in a graphics program or use the grid method. Select the size of your fabric to accommodate your revised pattern dimensions.
The original size for this article is for a 6 inch body, neck to toes.
Step 2: Outline the paper pattern after resizing onto a piece of shirt cardboard. Cut out to make a template. In this case, half of the template is used to ensure both halves are even. (Fig. 1)
Step 3: Draw a pencil outline around the template on the wrong side of one half of the piece of flannel. If the flannel is thin and you are adding a lining, you can draw the pencil outline on one piece of the muslin or lining material. (Fig. 2)
Step 4: Fold the flannel in half so the right sides are facing. If using a lining, sandwich the folded flannel in between two sheets of lining material. Otherwise just fold the flannel. (do not cut the pieces yet)
Step 5: Machine stitch along the pencil outline, through all the layers. Leave an opening at the neck and 1 ½ inches along the side. (Fig. 3) Now cut out the suit ¼” from the sewn seam. You should have a piece as in Fig. 4.
Step 6: Turn the suit right side out. ( Fig. 5) Stuff the legs and if desired make a small pouch of pellets to be inserted for the baby’s bottom. (Fig. 6)
Step 7: Stuff the baby’s arms and loosely & stuff the chest area.
Step 8: Run a stitch around the neck opening with the elastic thread. (Fig. 7) Insert the baby’s head in the neck and pull the elastic thread tight, holding the head in. (Fig. 8)
Step 9: Finish stuffing the body through the hole left on the side of the baby body. Sew up the hole.
Make a small hat or hood to attach at the base of the back neck of the suit. Decorate suit with buttons, sew on appliqués or other trims, such as fur.

Pattern for baby body suit

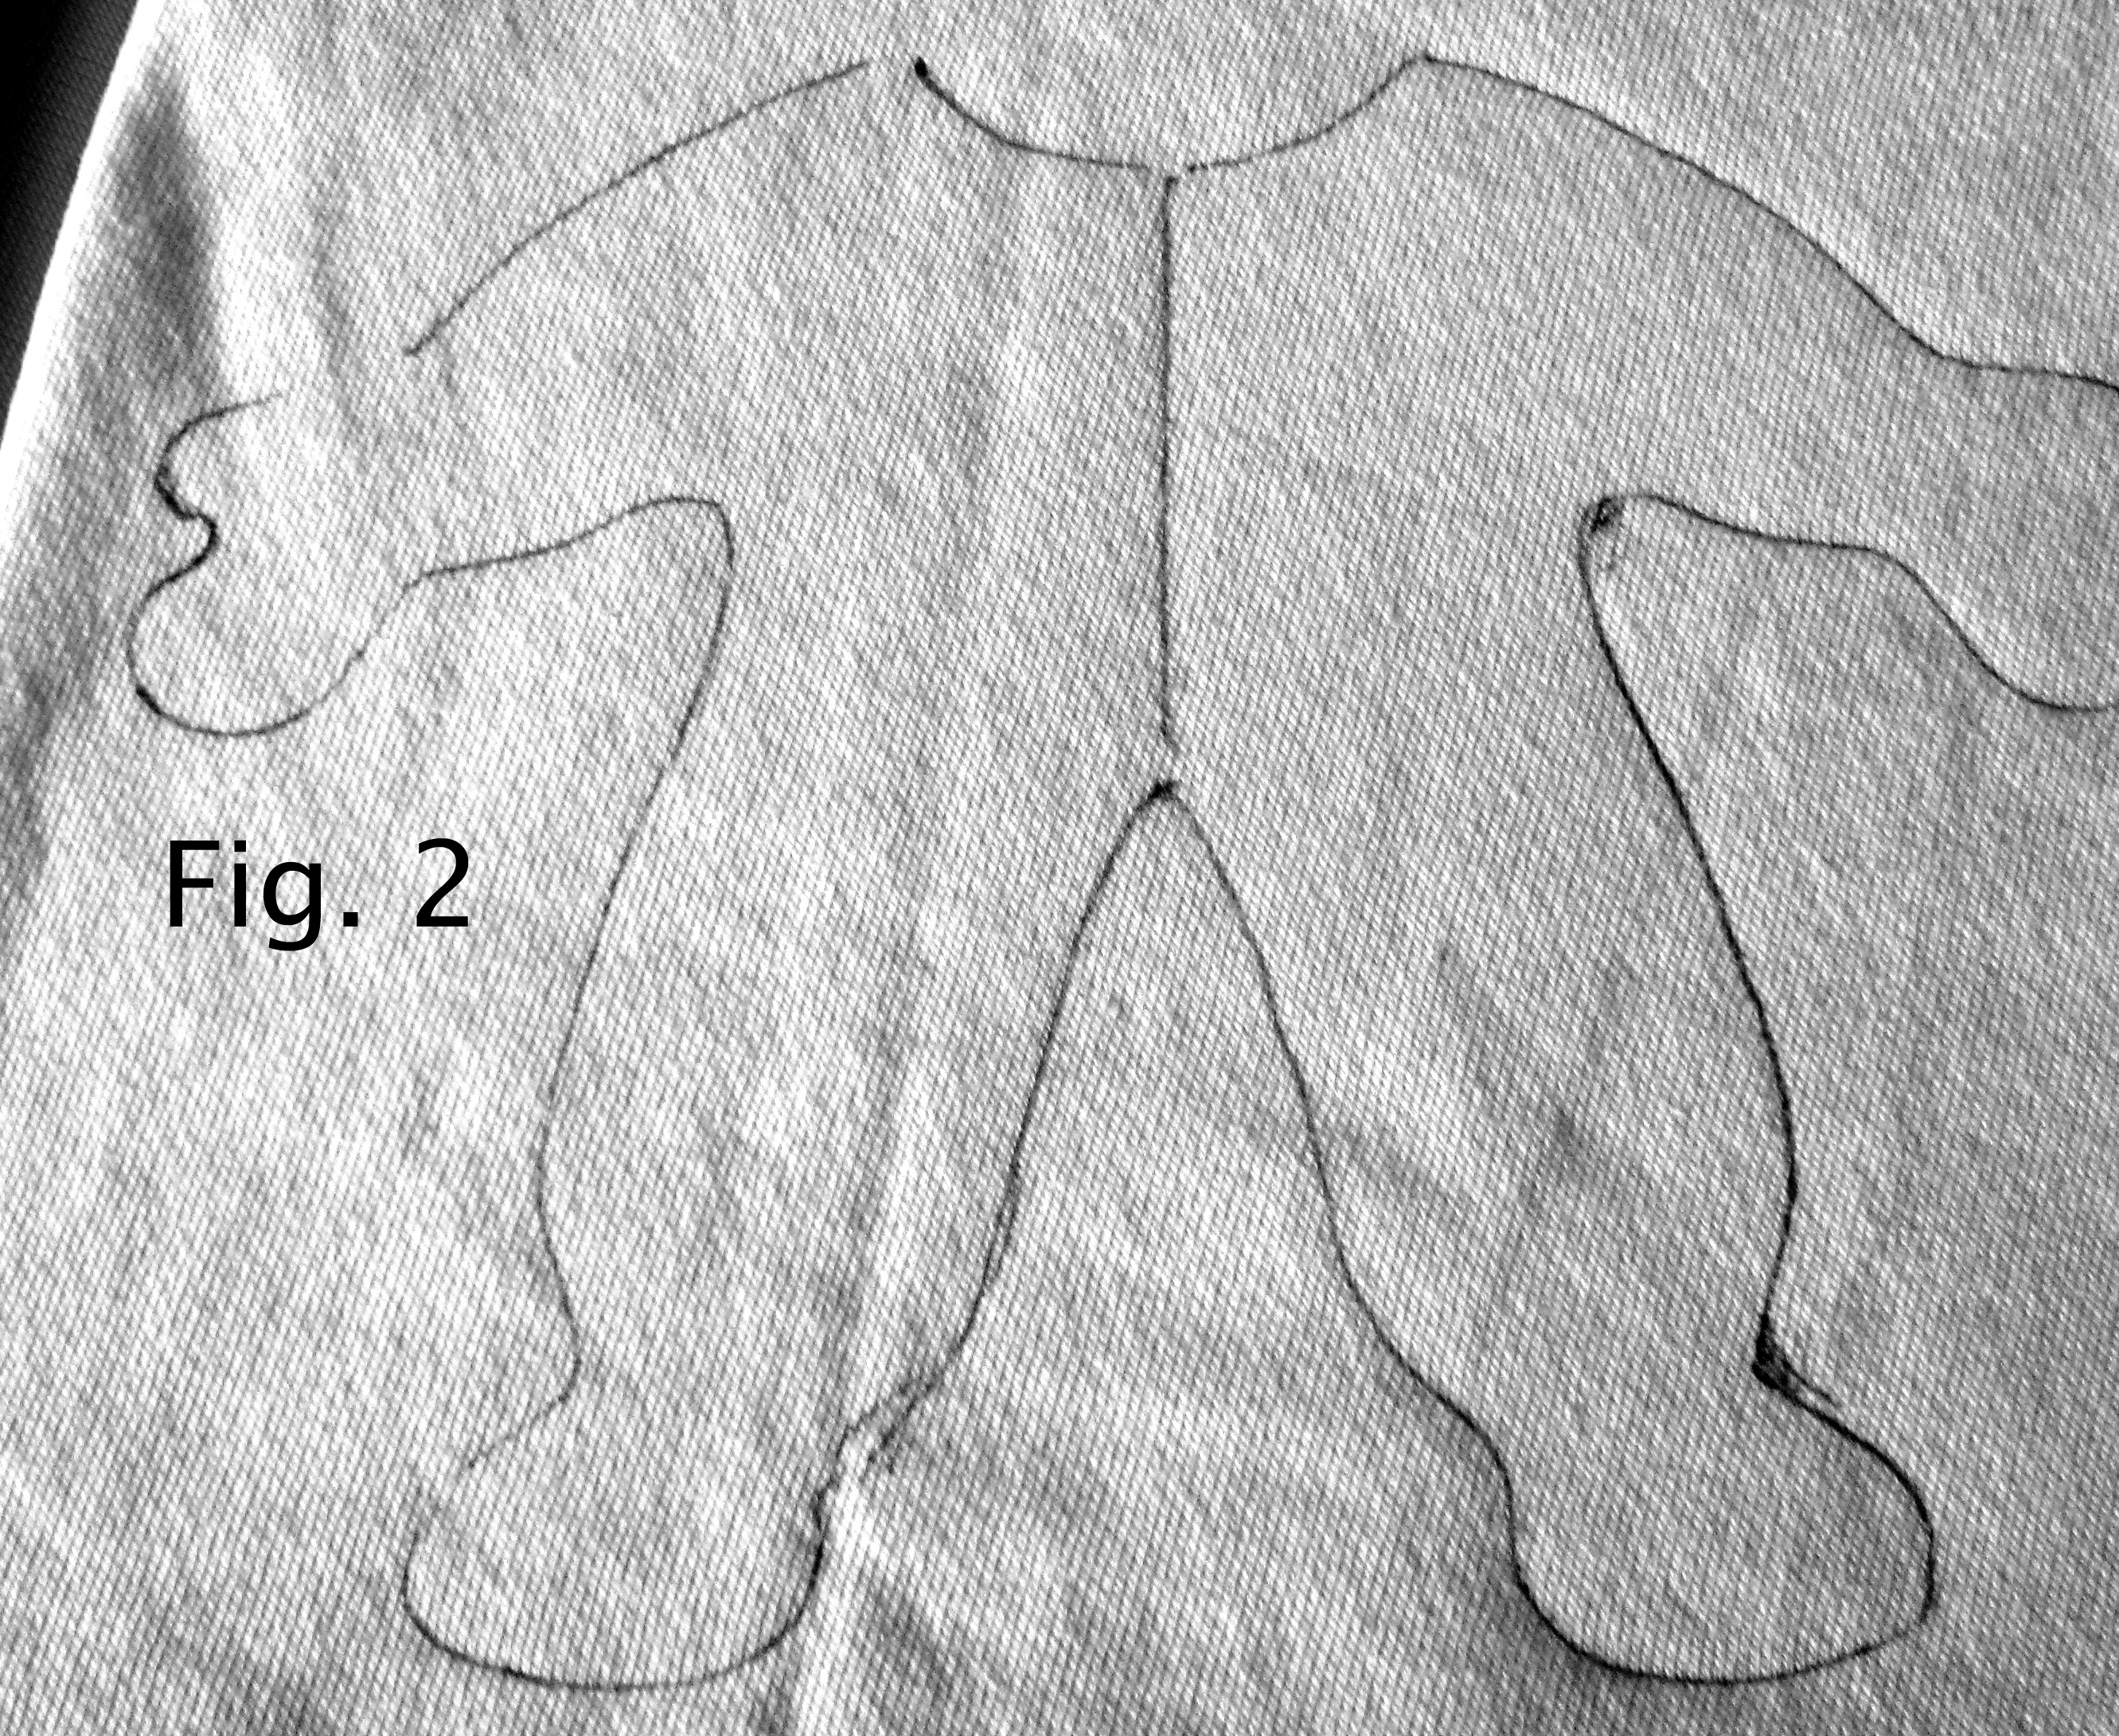
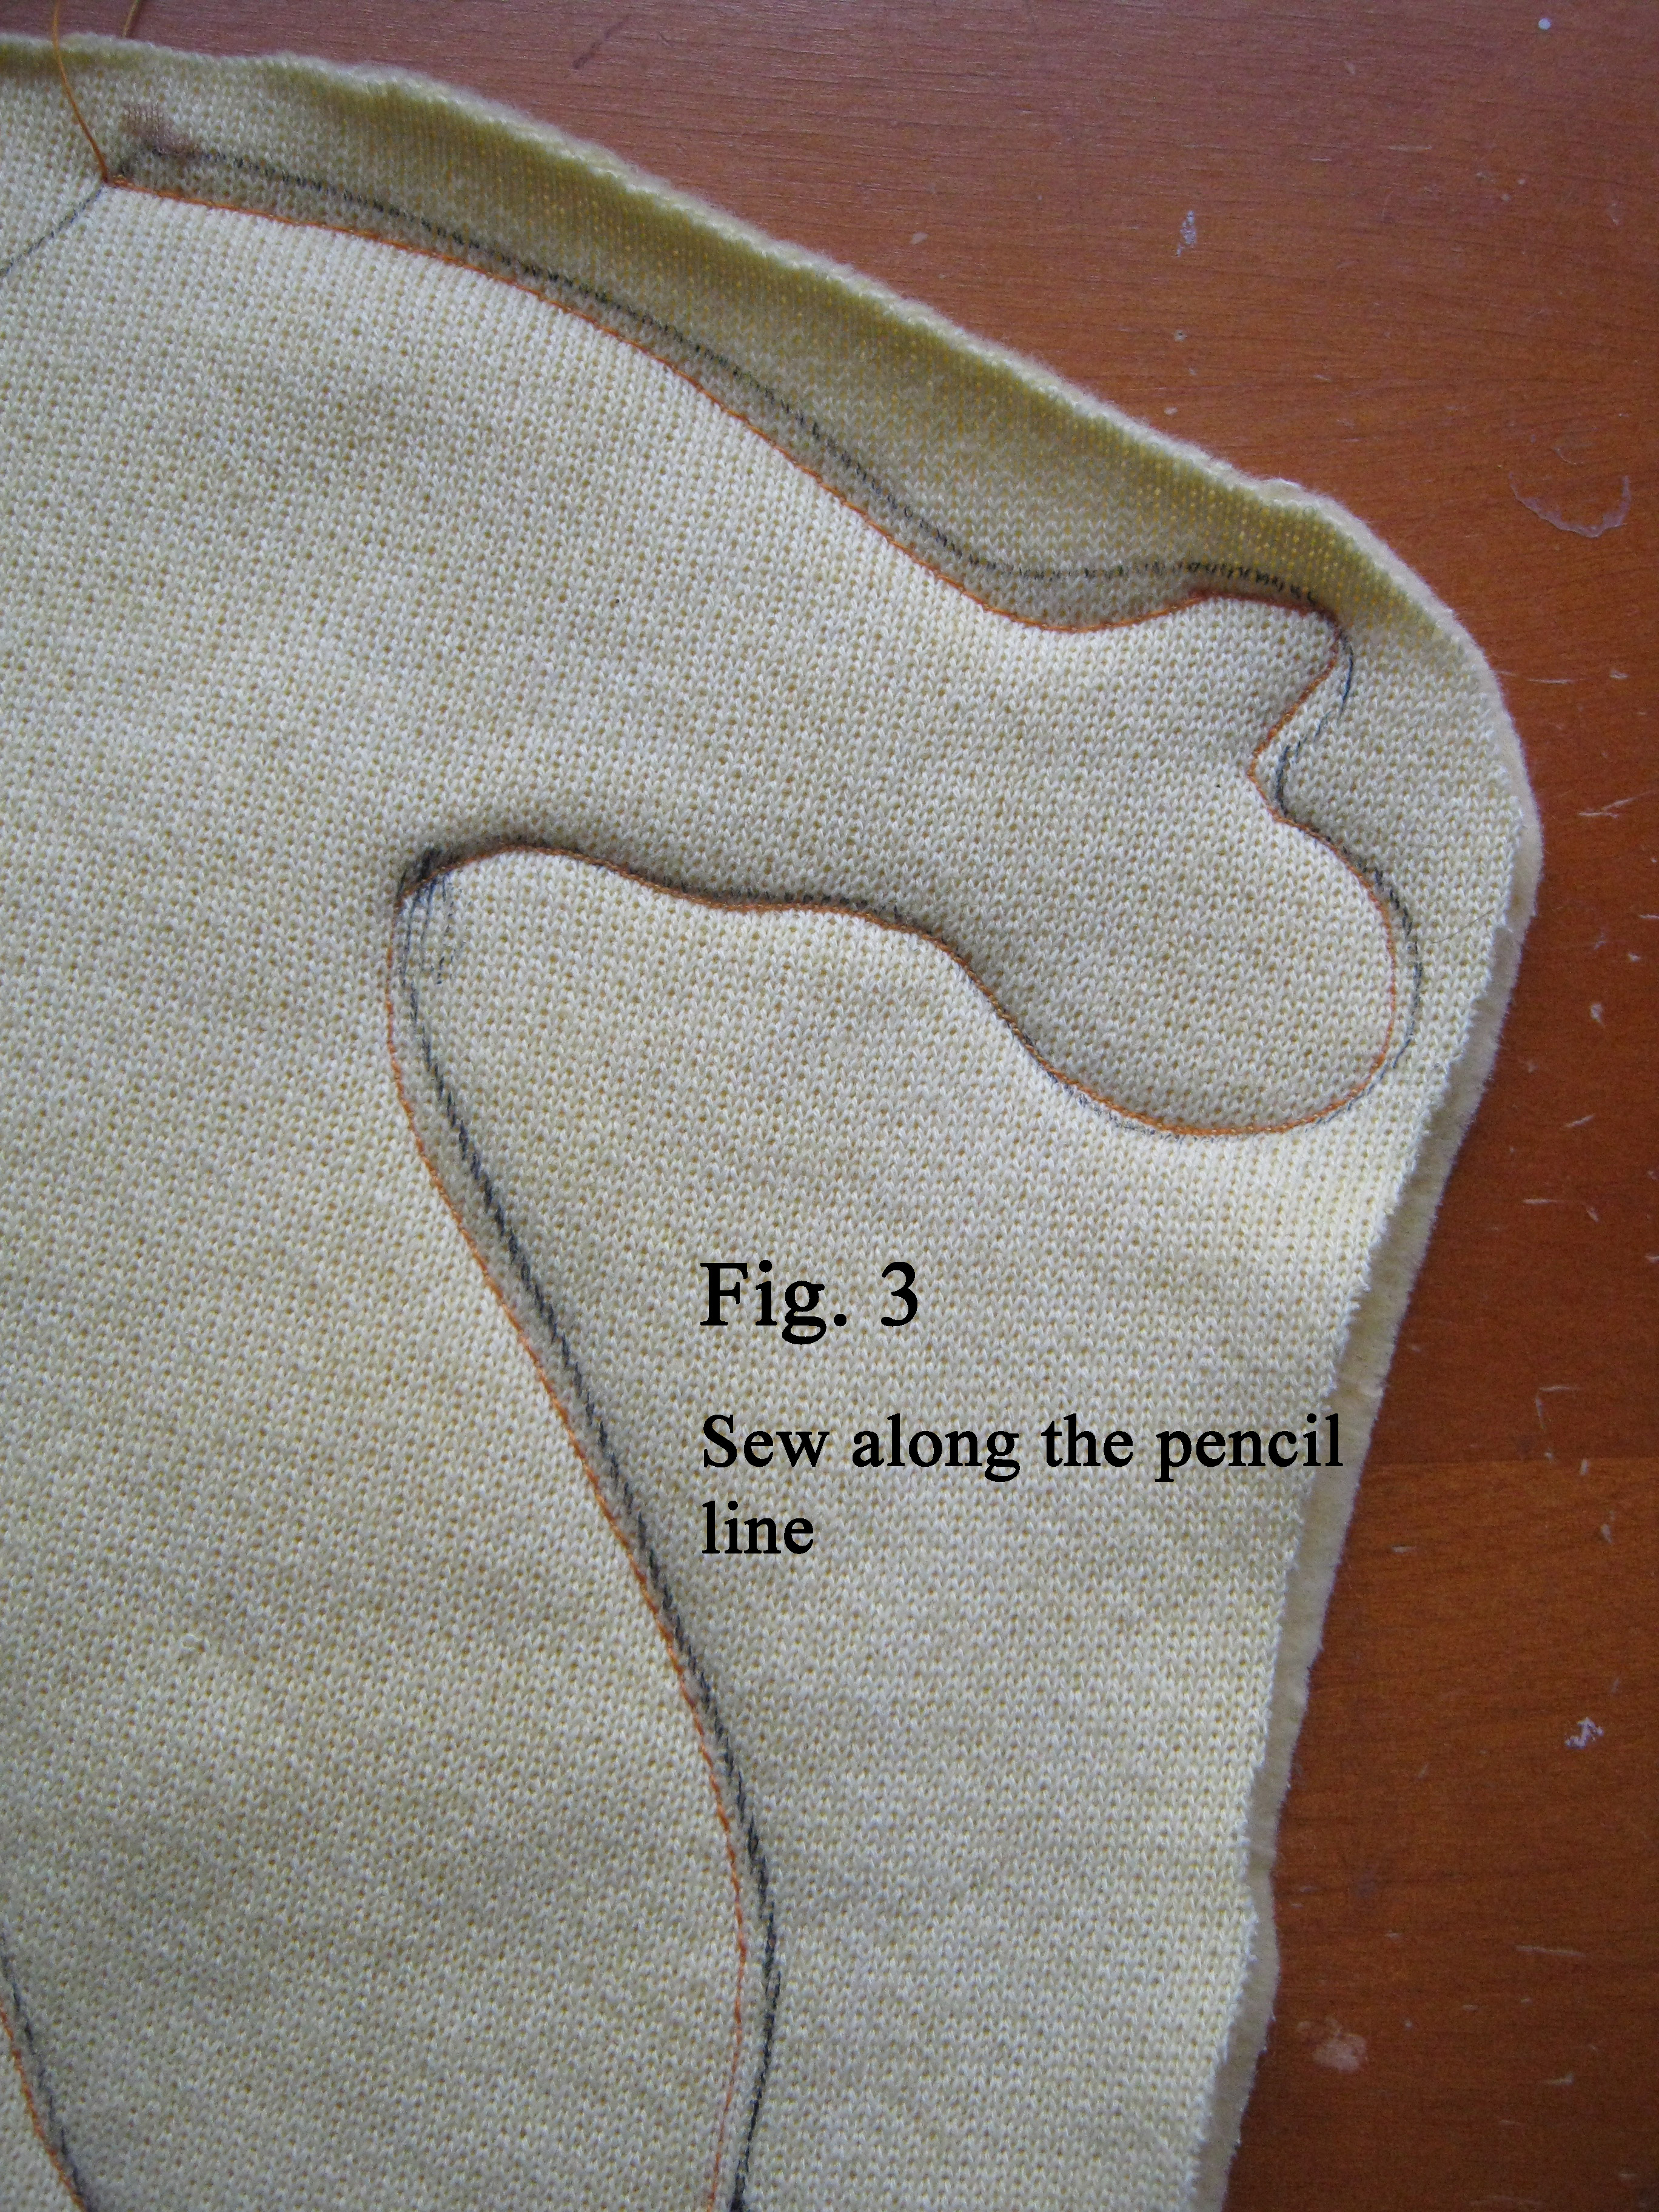
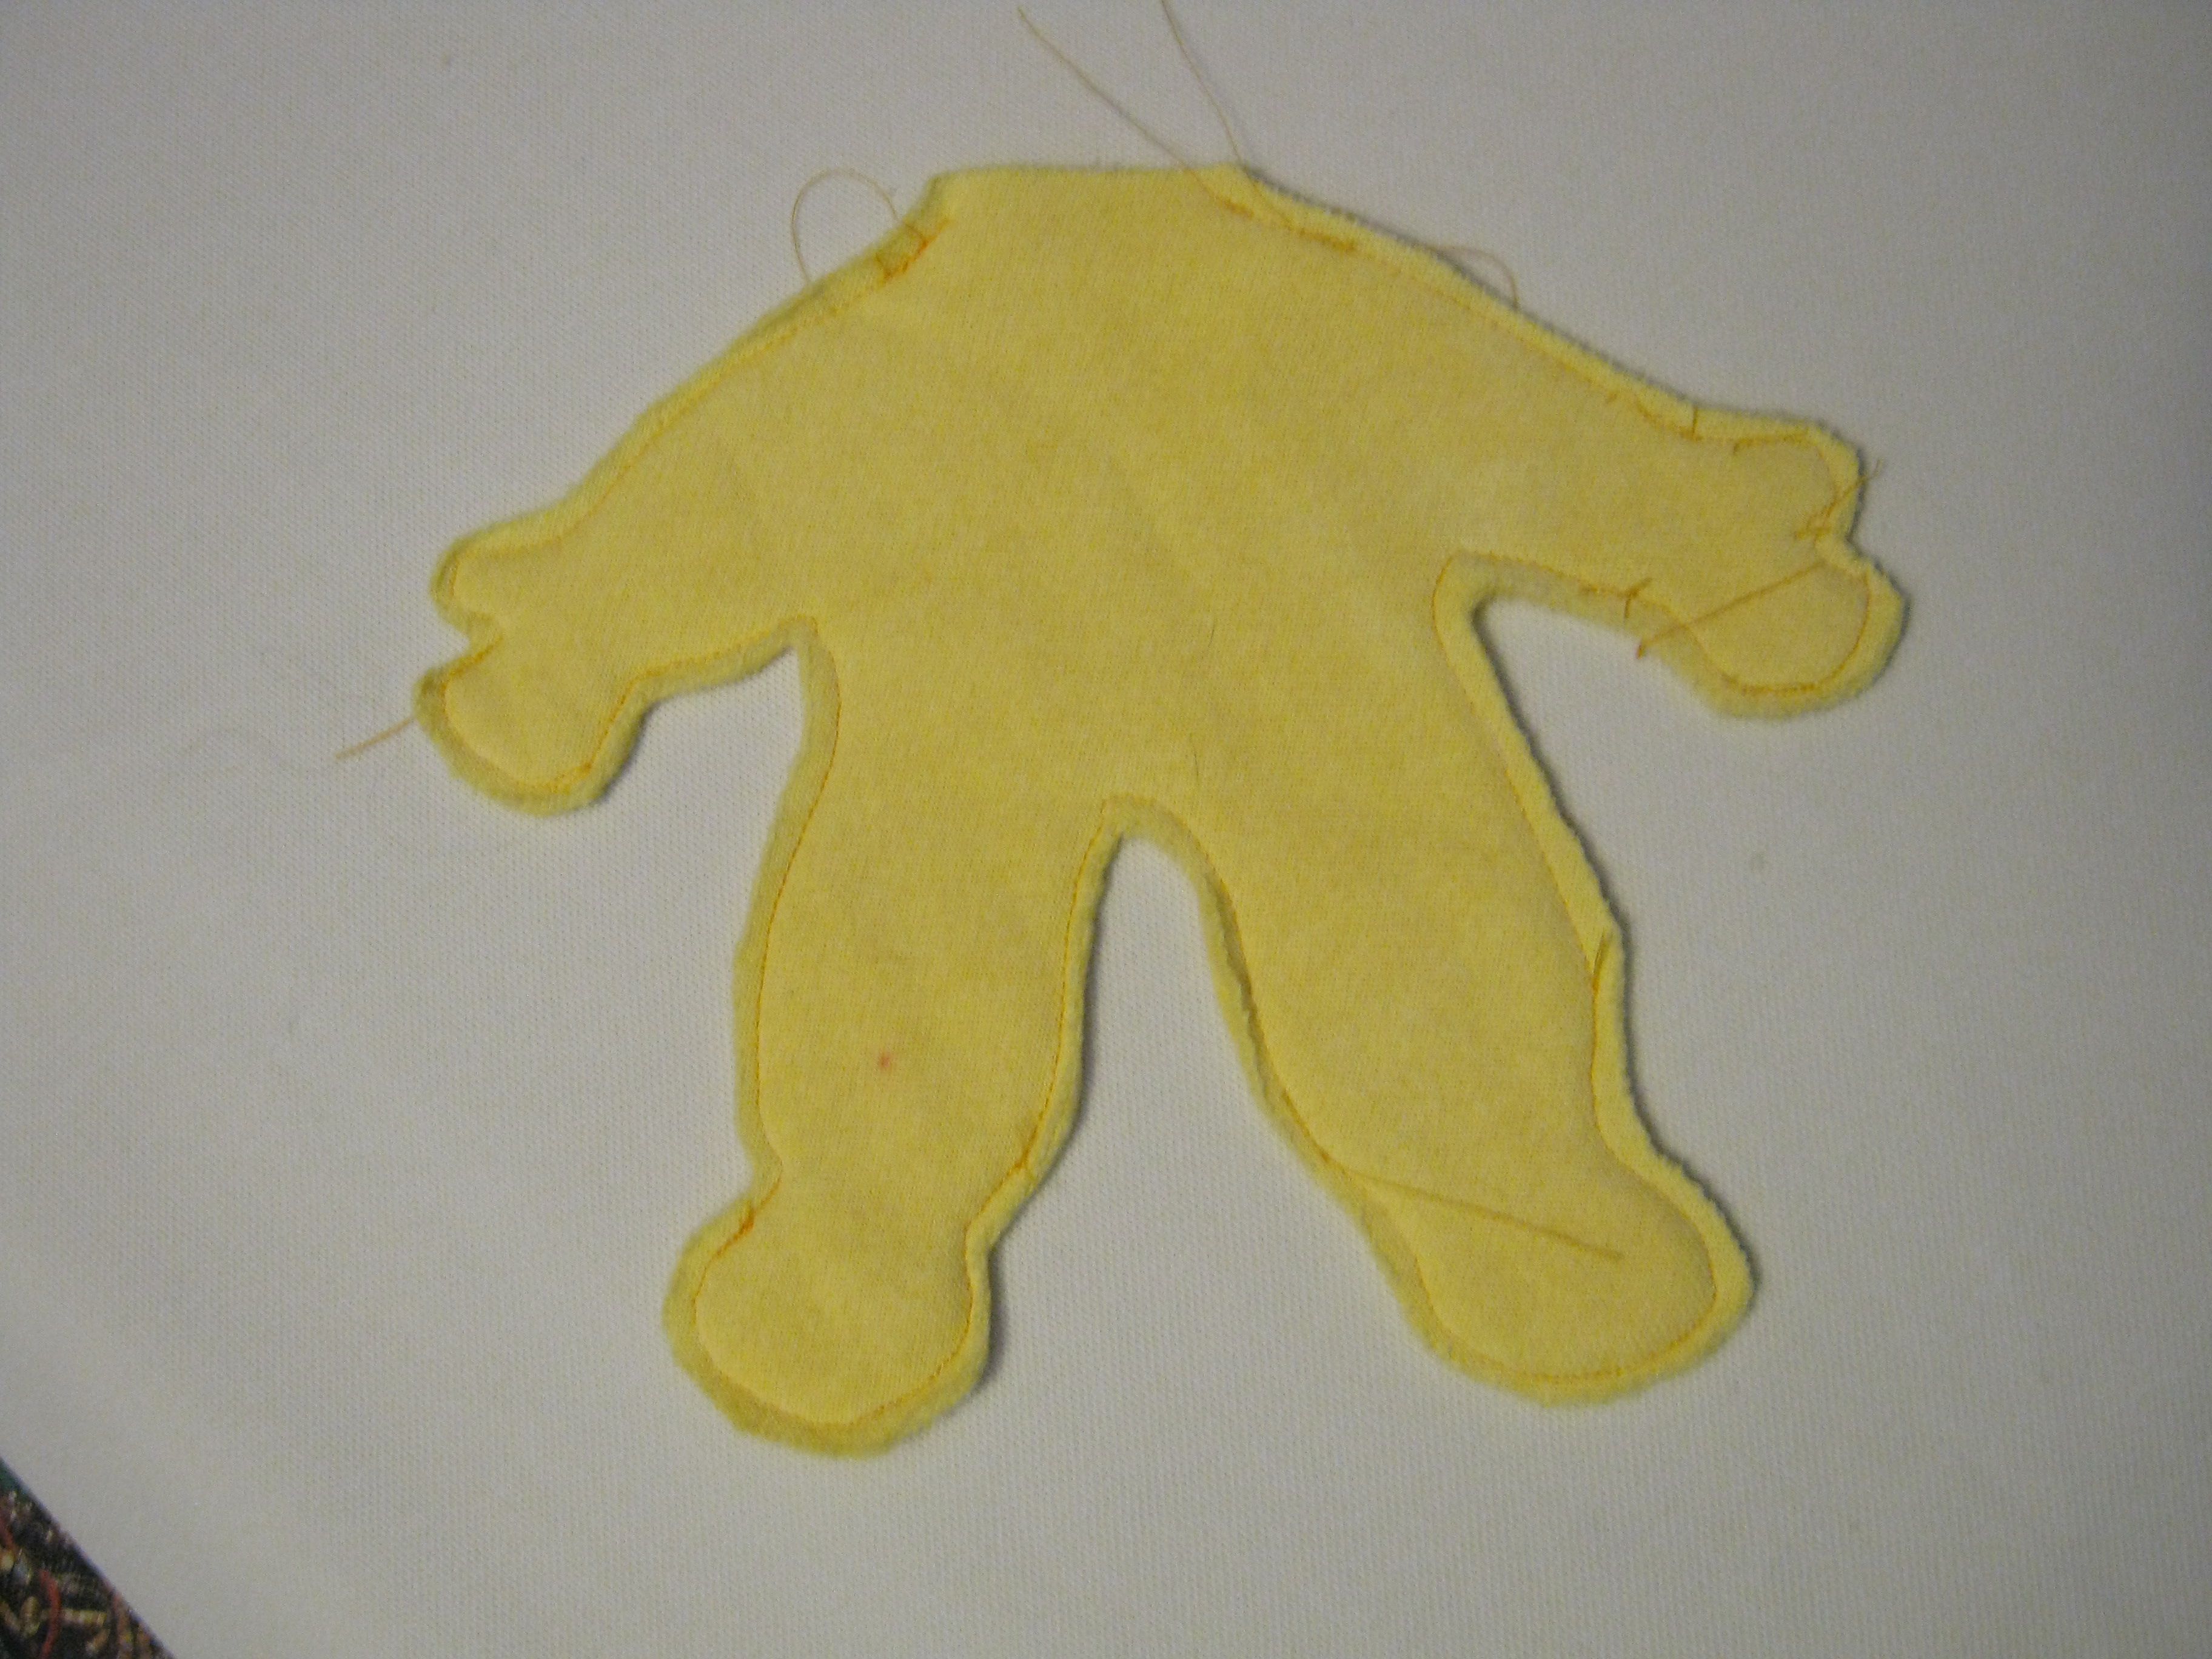
Fig. 4
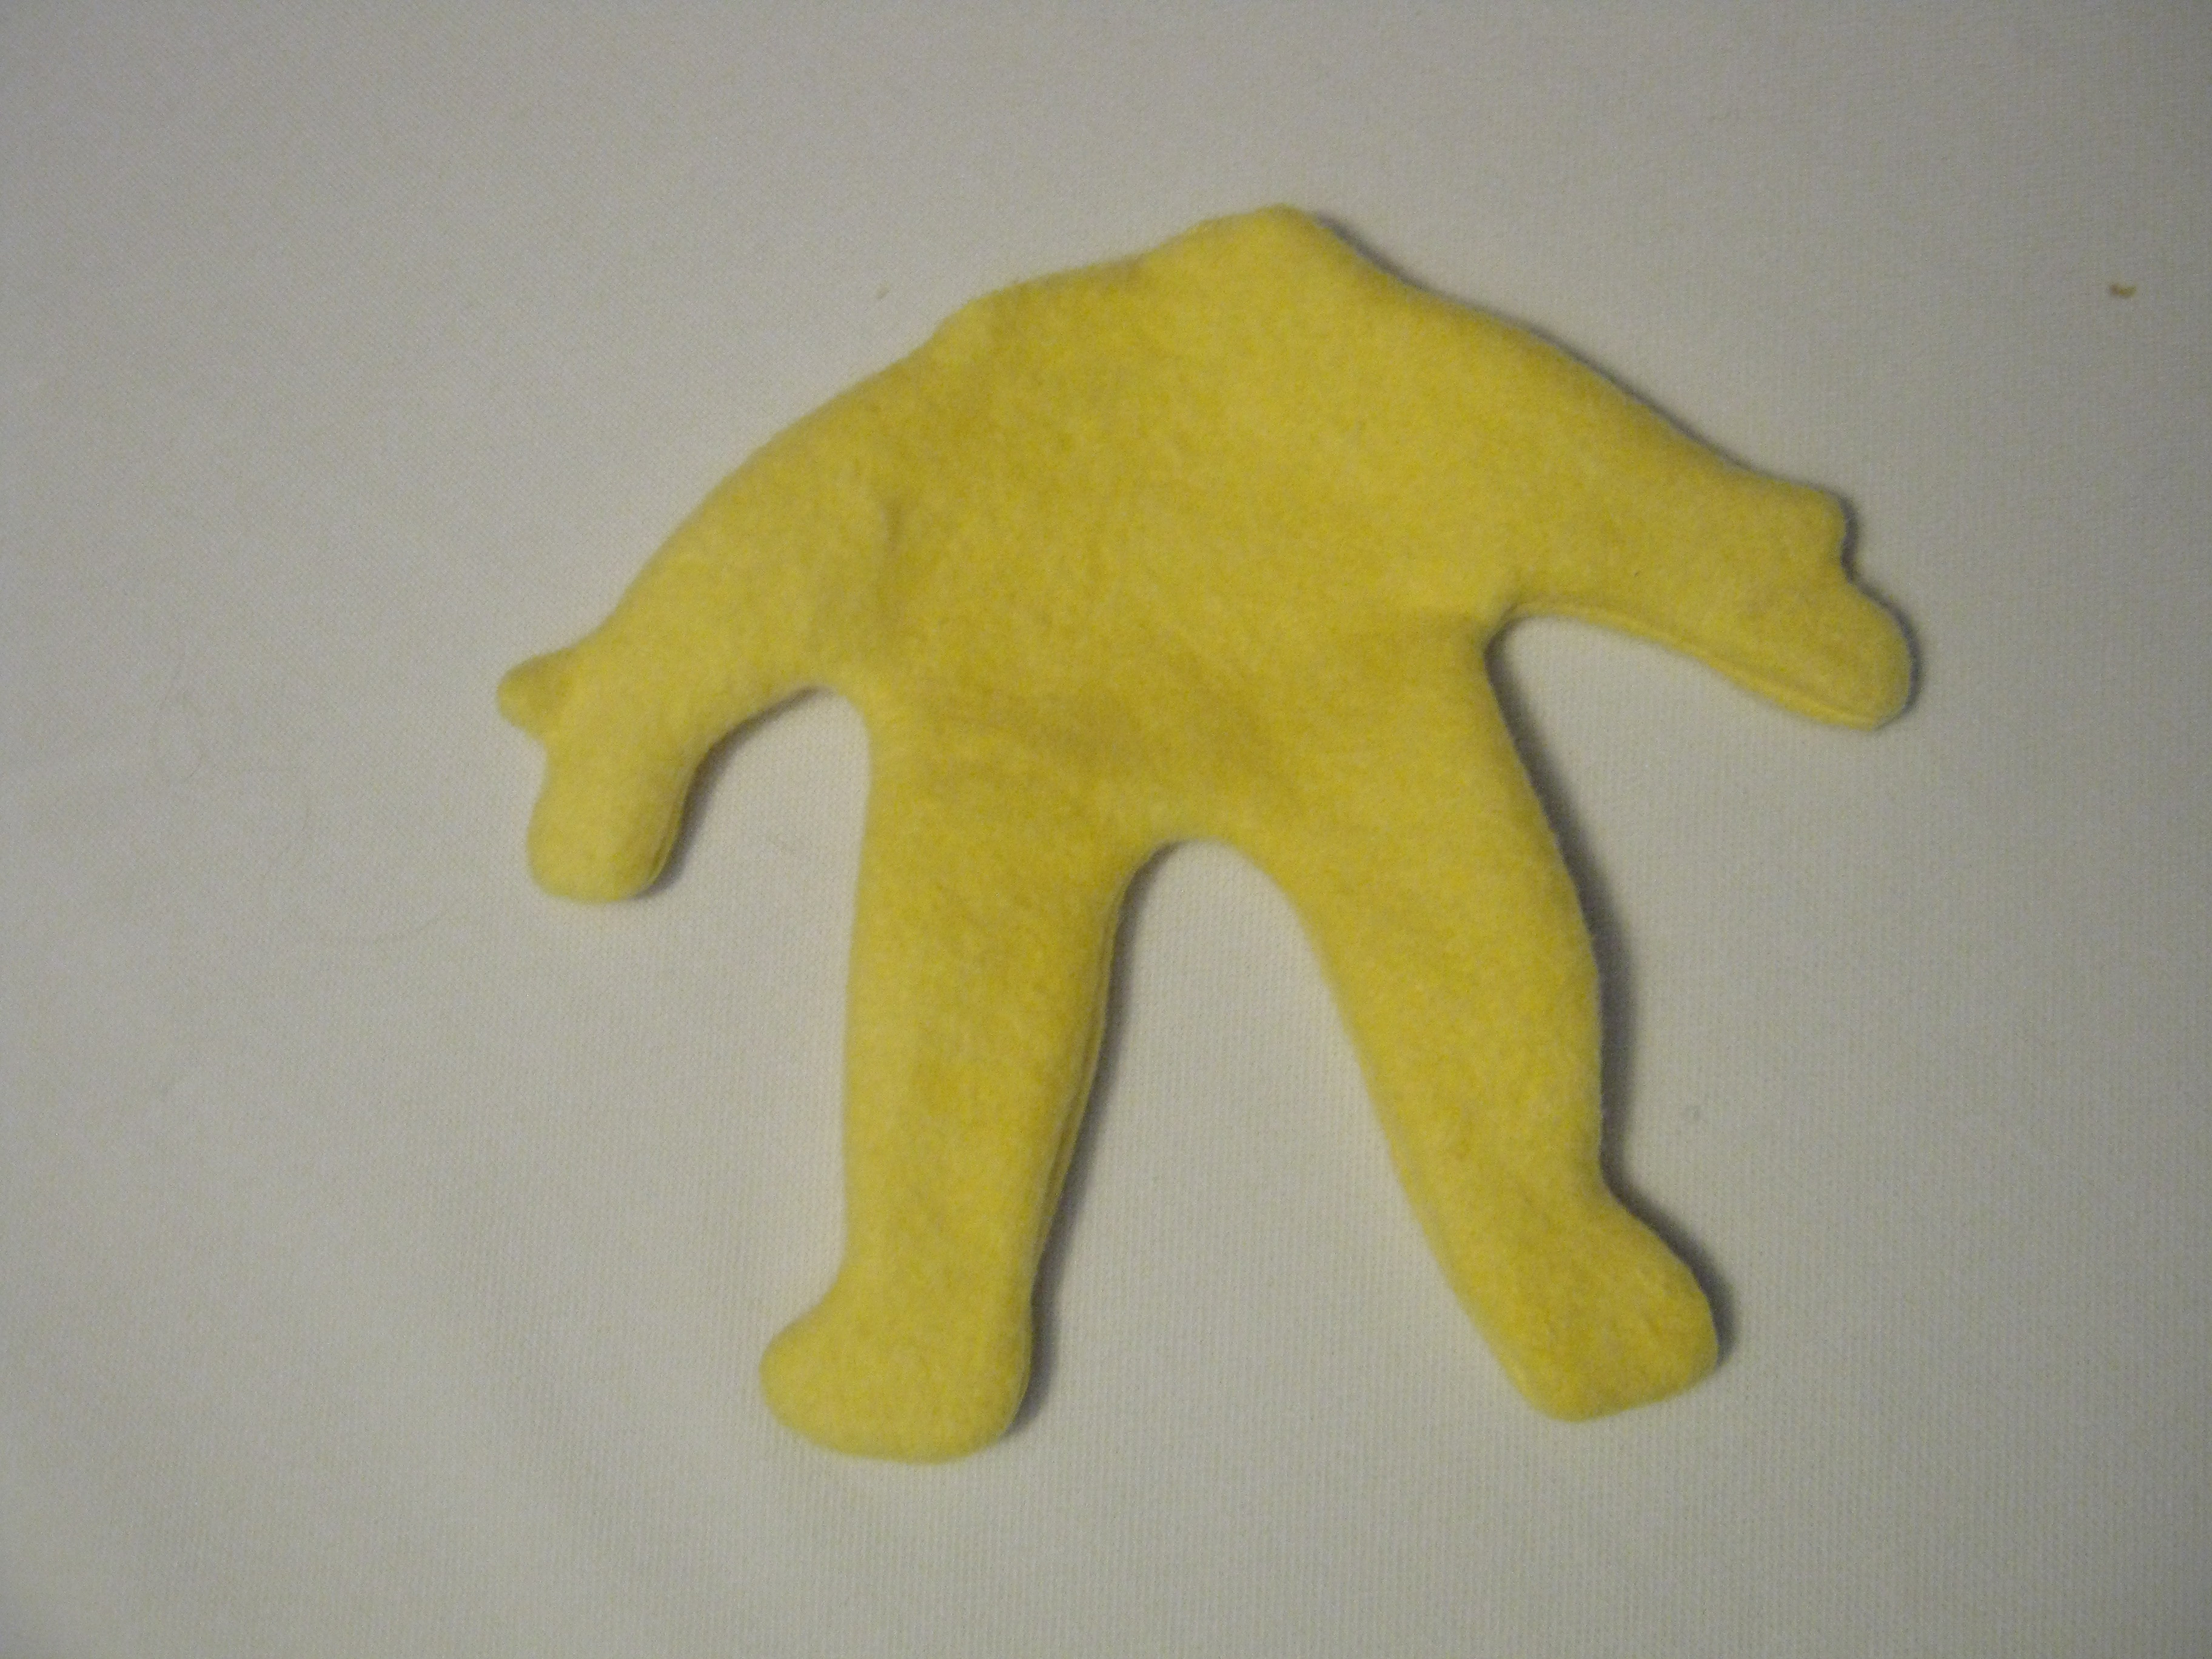
Fig. 5

Fig. 6

Fig. 7
Fig. 8
